
What is the hosts file?
To explain this, we need to look at how the internet works for a second. The internet (or any network) is built up of computers, each of which have their own IP address to tell other computers where they are. Now IP addresses aren’t very memorable or readable for humans, so we have the Domain Name System to make it easier, which converts all the numbers of an IP address into words (such as appeal.digital).
This also works the other way, where a domain name (like appeal.digital or cliftoncoffee.co.uk) is converted into an IP address, which computers on the network can understand. The job of translating IPs to domain names and vice-versa, belongs to Domain Name System servers, or DNS servers for short.
The hosts file is a local file saved on the computer that converts domain names into IP addresses. Every computer has a way of overriding the information on the DNS servers, and this is done by adding records to the file.
When should I change the hosts file?
On both Windows and Mac, you need to be an administrator in order to change the hosts file, and for good reason. Changing your file changes the way your computer loads in web pages, they could be redirecting a request for legitimate websites to nefarious places. So please be careful.
There are legitimate reasons to change your hosts file. For example if your web developer has made you a beautiful new website and you want to check it over before it goes live to the public, they may ask you to change your hosts file so they can show you your website.
Preparing to make changes
To add a hosts file record you need two things:
- The place you want to record the direct to
- The name to redirect to
Usually you’ll be given a line that looks something like this;
10.5.14.31 appeal.digital
But if you have it in another format, you need to make sure the domain is on the right and the IP (a series of 4 numbers with dots in between) is on the left.
How to change your hosts file (Mac)
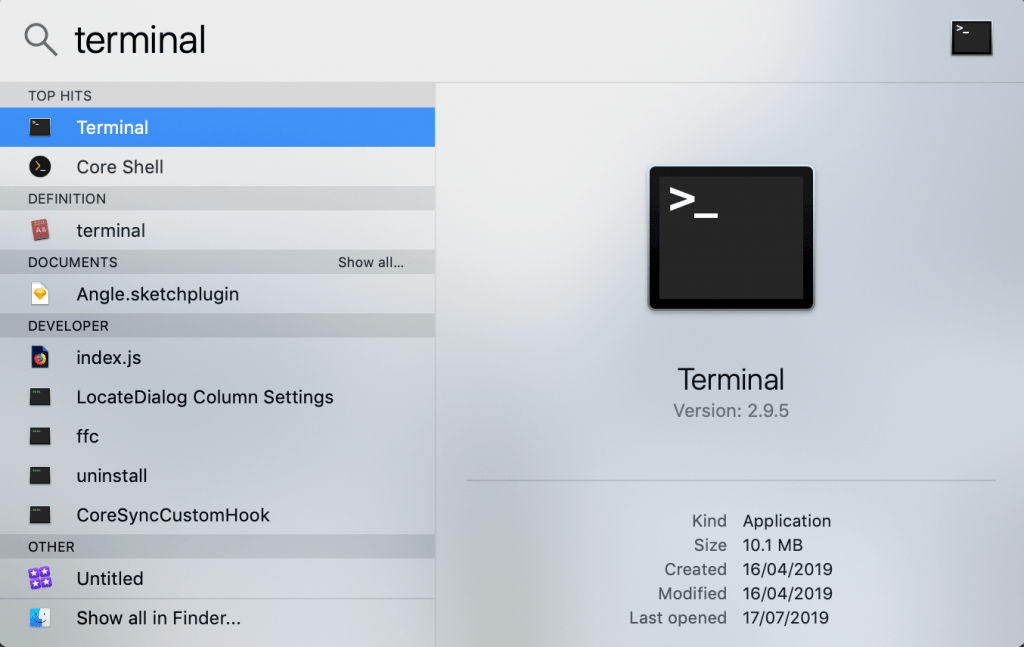
To open your hosts file for editing you need to first open terminal. This is located in the Utilities folder in Applications, or you can use Spotlight (⌘ + Spacebar) and type “Terminal”.
Once you have the terminal open, you need to type this command;
sudo nano /etc/hosts
This will ask you for your password to confirm you are an administrator. Once you’ve entered your password, the hosts file will open in a text editor called nano. Be aware that nano doesn’t allow you to use the mouse so you need to use the keyboard keys to navigate around.
Move the cursor to the bottom of the file and make sure you’re on a new line, then type or paste in the hosts file entry.
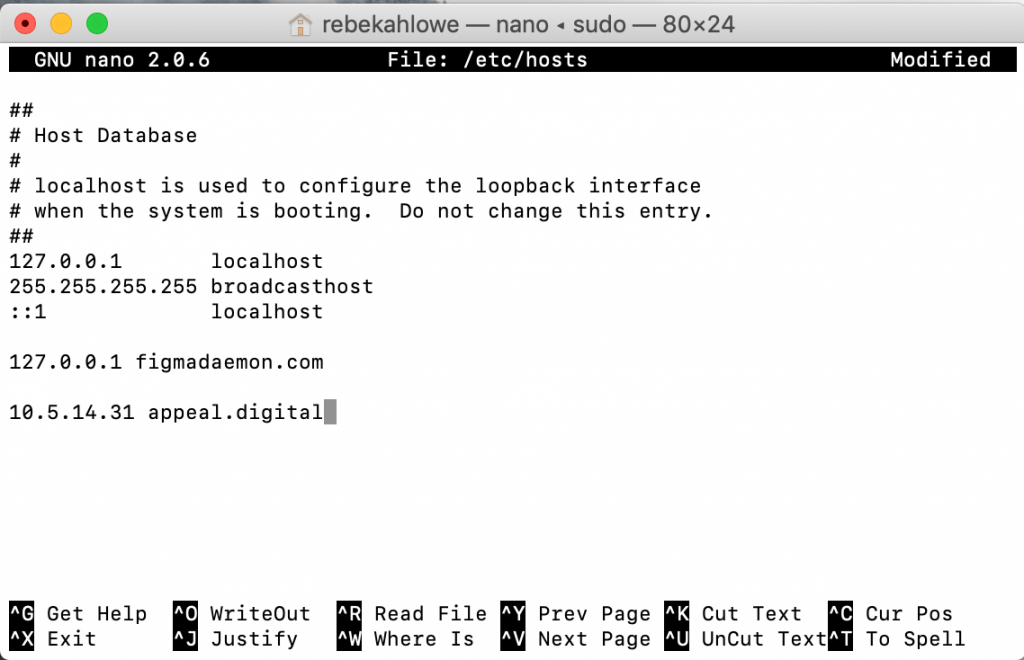
To save and exit, press Ctrl+X then type Y to confirm you want to save changes and press enter.
This will place you back to the command prompt, you can now close the terminal and move on to see if the change worked.
How to change your hosts file (Windows)
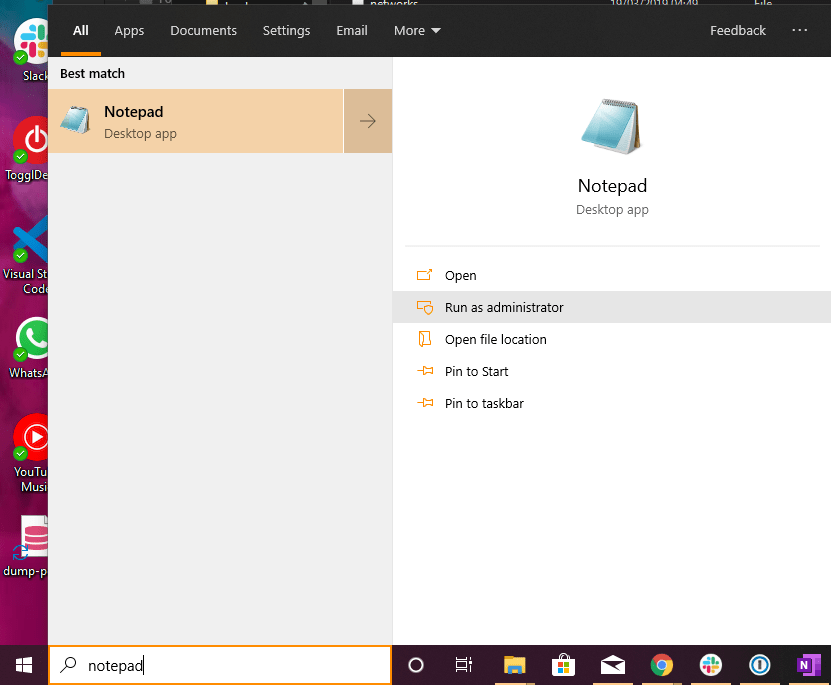
First off, you need to open Notepad as an administrator. To do this open the Start Menu and type Notepad. Right click on the Notepad icon and select “Run as Administrator”. You’ll be asked to confirm that you want to do this.
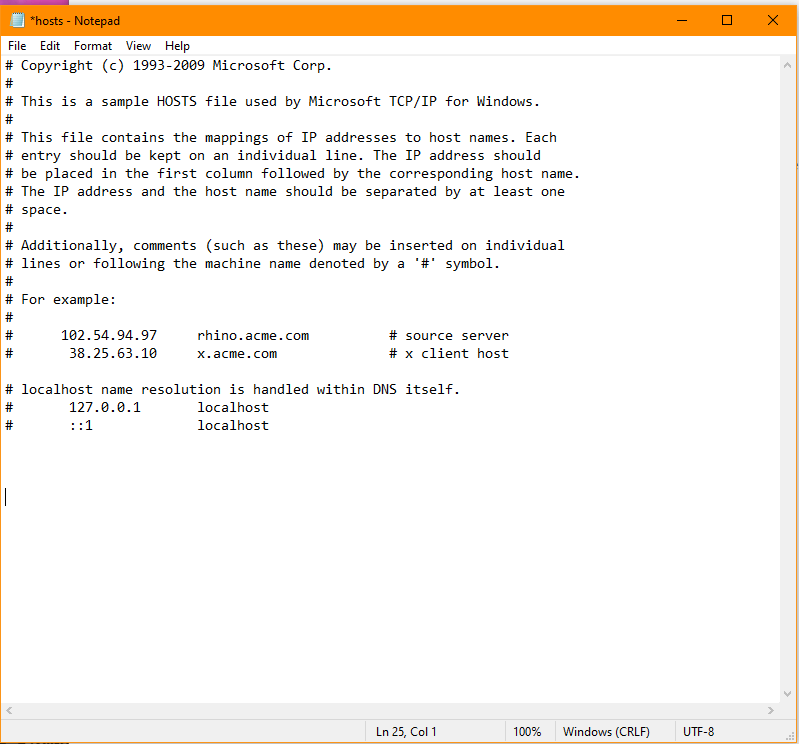
With Notepad open, you now need to open your hosts file. Go to File->Open and then navigate to C:/System32/drivers/etc and open the file named “hosts”. You may need to change the file format in the bottom right hand corner from Text Documents (.txt) to All files (*.*) to be able to see it.
You can now add your entry at the bottom of the file, then save the file to make the changes.
How to check that it worked
The problem with making changes to the hosts file is that Chrome and other browsers may not pick up on it right away. The easiest way to check that you’re looking at the right version of the site is to use a Chrome extension called Website IP, available here.
This puts a small box in the corner of your Chrome window telling you the IP of the website you’re seeing. That way you can match it to your hosts file entry to see if the change was applied. Chrome can take a few refreshes and restarts before it picks up on the change.
And that’s it! Your computer should now use the hosts file entry rather than DNS! Remember that you have applied the change however, as you could be seeing something different to everyone else.